Look here: Autel IM608 price: Amazon vs Ebay vs Uobdii.com – Where to get it with the best price?
Autel IM608 Amazon:
No results for Autel im608 on Amazon
![autel-im608-amazon]()
Autel IM608 Ebay:
IM608 ebay price: 3599 usd
![autel-im608-ebay]()
Autel IM608 uobdii.com:
MaxiIM IM608 price: 3000 usd with free shipping
![autel-im608-uobdii]()
source: http://www.uobdii.com/wholesale/autel-maxiim-im608.html
look here:
![autel-maxiim-im608-price]()
MaxiIM im608 update policy:
First 2 years update: Free
Then 1250 usd per year
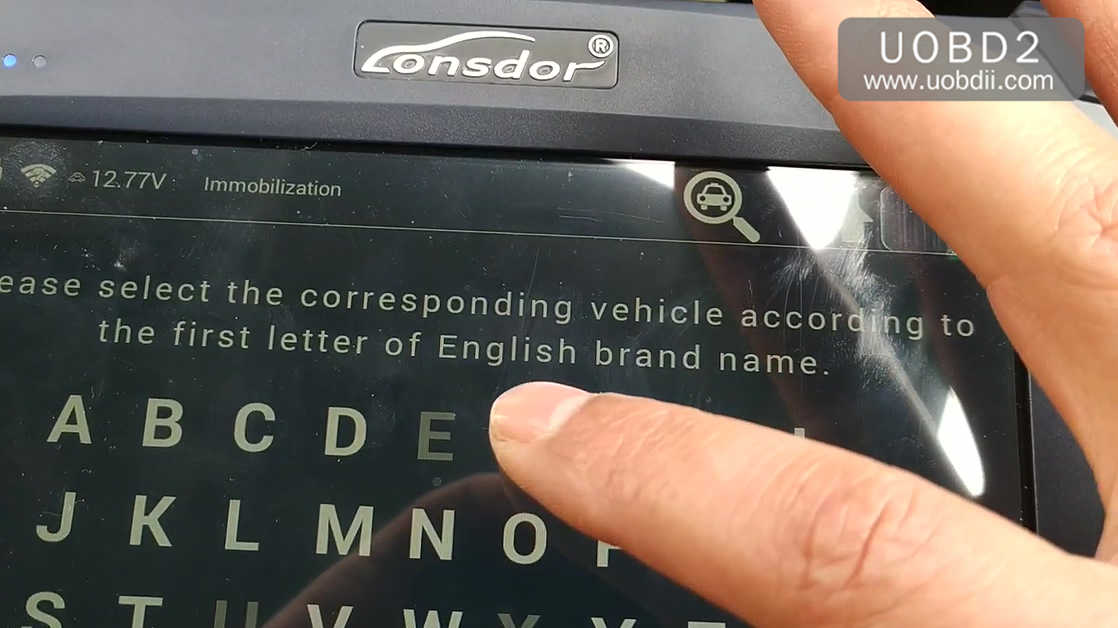
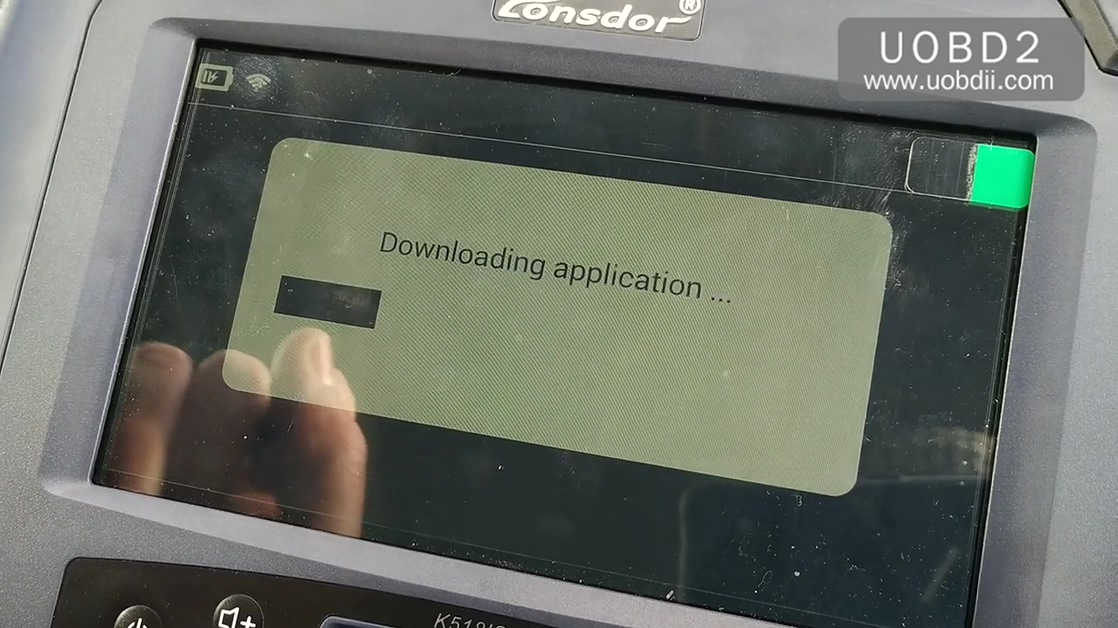
IM608 language:
Diagnosis menu: multi-language German, Japanese, French, Spanish, Portuguese;
Immobilizer menu: English mainly (Provide your device S/N to change language)
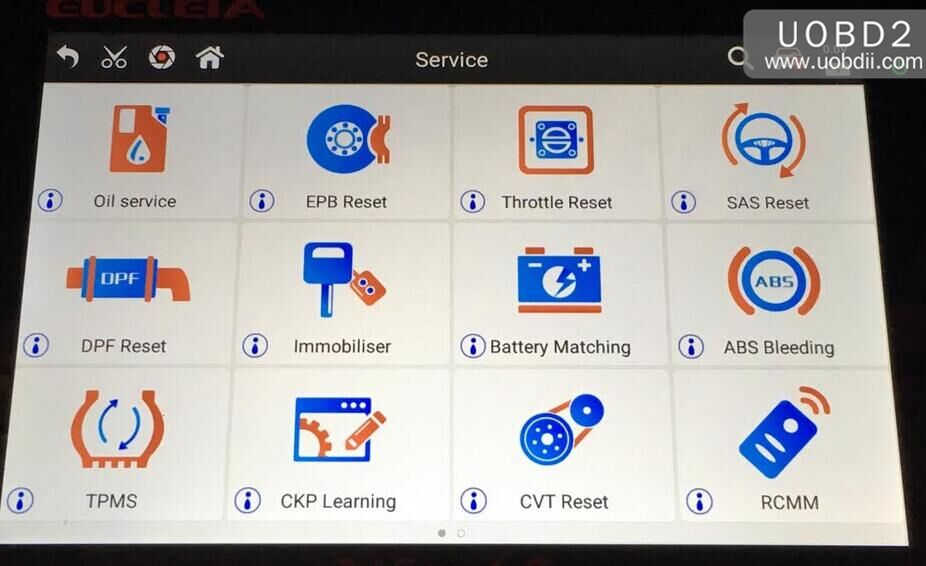
IM608 functionality:
Main Features
- Read & Clear Fault Codes| Short description & code provided (can clear faults & warning lights)
- Service Functions| Oil light / EPB / BMS / SAS / DAF etc
- Access Live Data| Data from the ECU/Modules/sensors displayed in real-time (Oxygen sensor-rich/lean etc)
- Actuation/Component Testing| Actuate (switch on/off) to diagnose functionality (relays, fans, locks etc)
- Coding Functions| Allows you to change vehicle parts that need to be ‘coded’ (Injectors, ABS, starters etc)
- Flashing/Reprogramming| Advanced updating/coding of ECU’s online through a J2534 pass-through flashing device
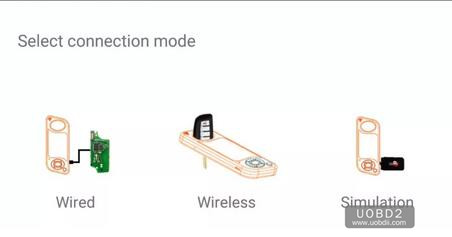
- Advanced Key Programming| IMMO functions, Transponder read/write/identify, MCU/EEPROM chip read/write
OE- Level Diagnostic
- All Systems Diagnostics
- AutoVIN / AutoScan
- Read / Erase Codes
- View, Record and Playback Live Data
- View Freeze Frame Data
- Shop and Data Manager Applications
- MaxiFlash JVCI ECU Programmer (Bluetooth/USB cable)
Advanced Service Functions
- All Special Functions, e.g. EPB, DPF, SAS, Oil Reset, BMS and TPMS Sensor ID Relearn, etc.
- ECU Coding
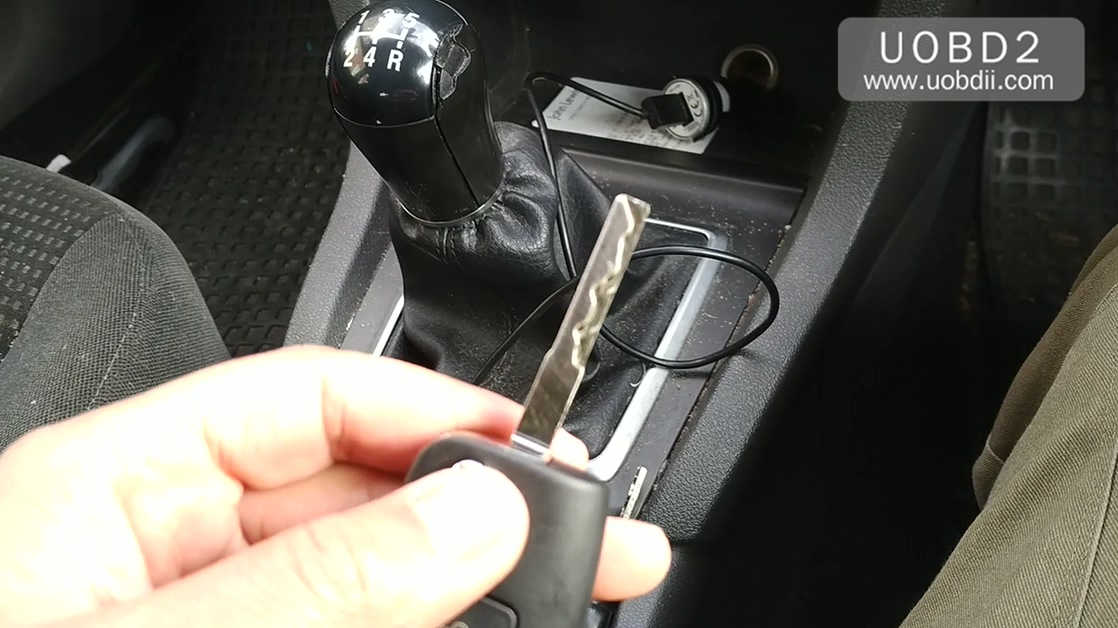
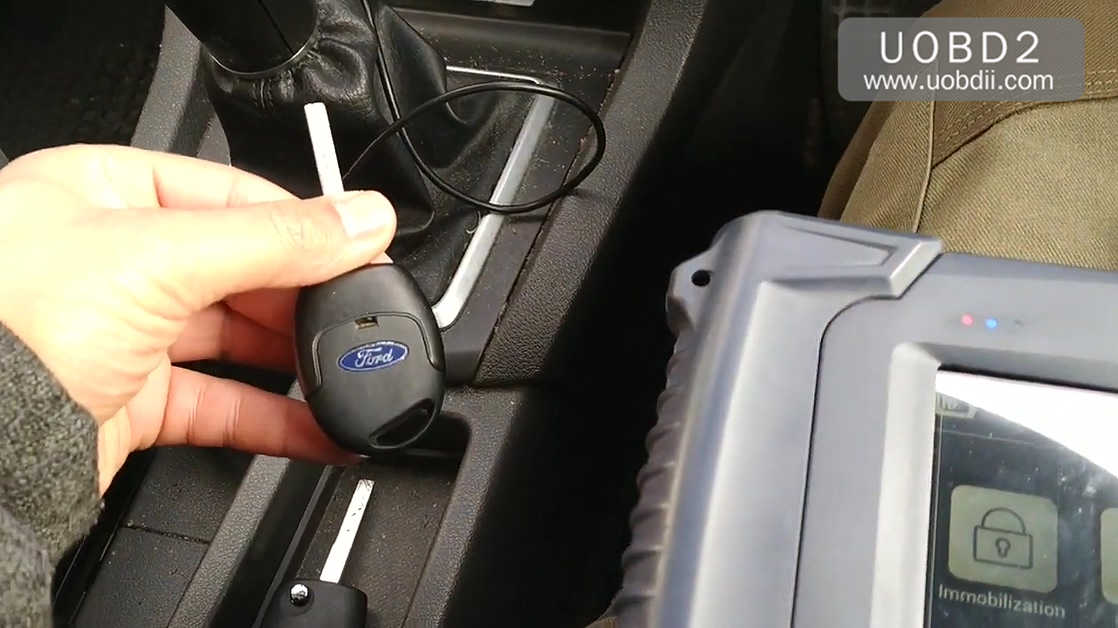
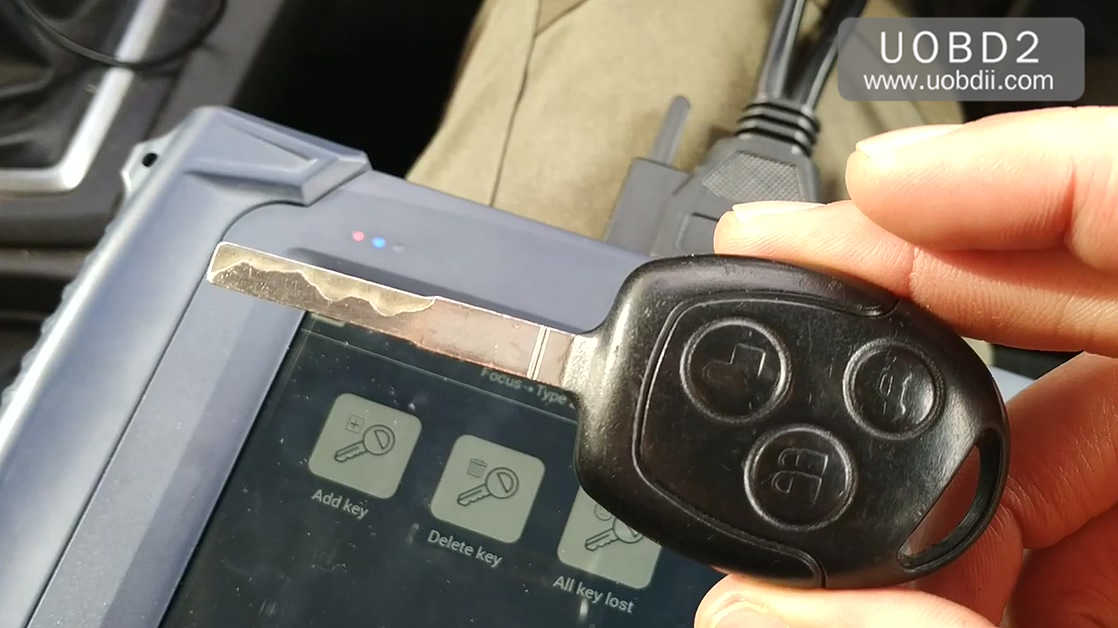
Advanced IMMO & Key Programming
1. Smart Mode:for Guided and Automated Key Learning
2. Expert Mode:for Advanced Key Learning
- Read PIN / CS (All Key Lost)
- Generate Key
- Key Learning
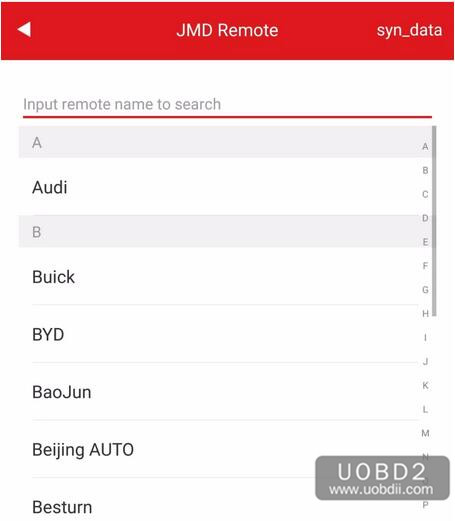
- Remote Learning
- Backup / Restore IMMO Data
- IMMO ECU Reset / Adaptation
- IMMO ECU Refresh / Coding
- BENZ 3rd Generation IMMO Add Key, All Key Lost, Key Learning
- BMW FEM / BDC Key Learning and ECU Adaptation
- BMW CAS4/3/2 Key Learning
- VW / AUDI MQB Key Learning, 48 Transponder (96-bit) Add Key, All Key Lost,
- A6 All Key Lost, and More
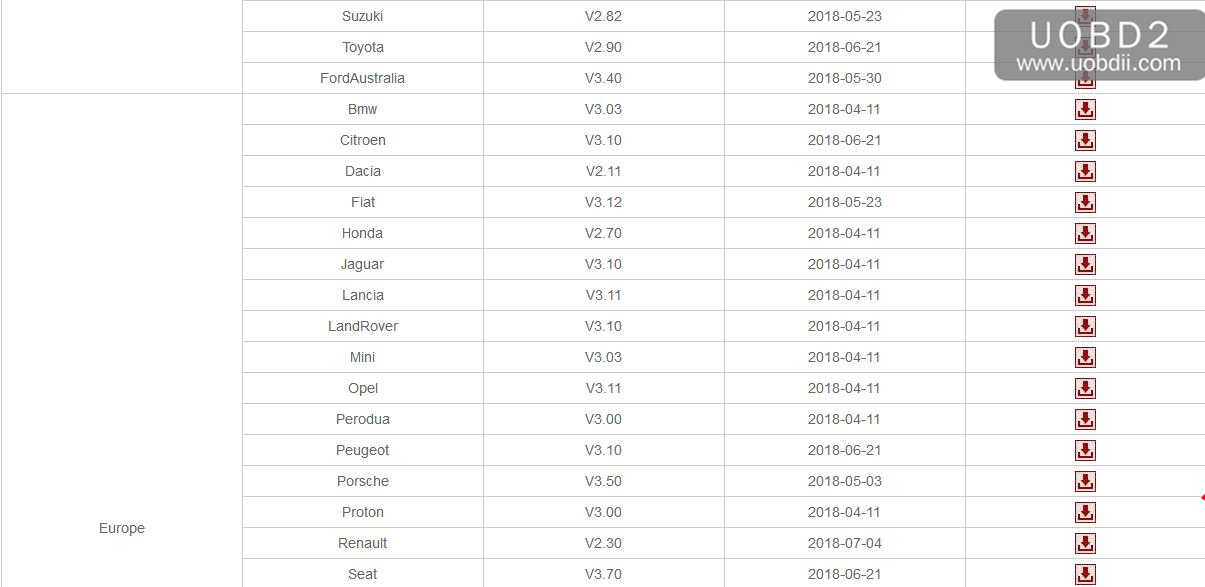
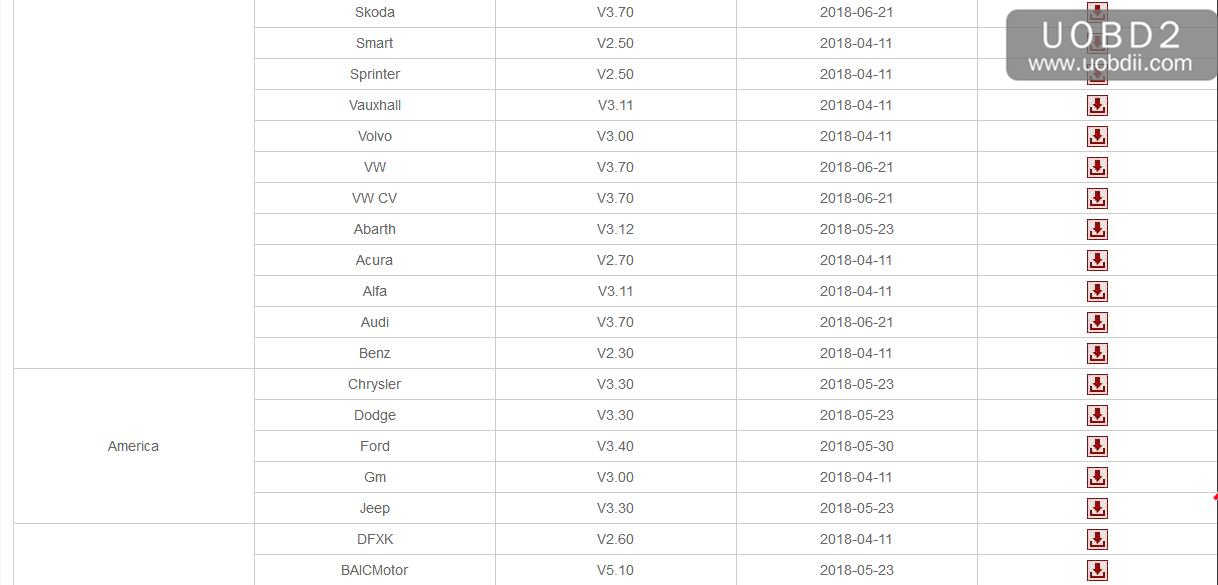
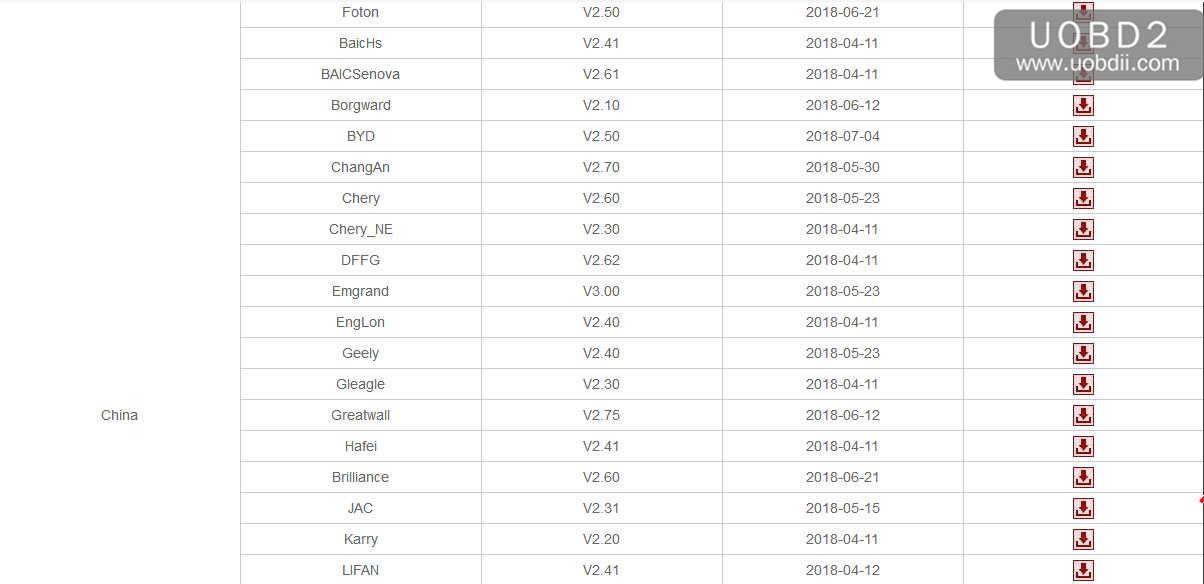
Autel IM608 car list:
Immobilizer:
Audi:
A1,A3,A4,A5,A6,RS4,B6,B7,RS5,RS6,A4 Allroad,A8,S8,Q3,RSQ3,Q5,Q7,R8,TT,
Seat:
Alhambra,Altea,Altea,Cordoba,CupraLeon,Exeo,Ibiza,Leon,Mii,Toledo
Skoda:
Citigo,Fabia India,Fabia,Kamiq,Karoq,Octavia,Rapid India,Rapid,Roomster,Superb,Yeti
VW:
Amarok,Arteon,Atlas,Beetle,Bora,BoraGli,Caddy,Crafter,EOS,Fox Africa,,Fox EU,Fox,GTI,Gol County,Gol(5U),Gol(5W),Golf PLUS,Golf/Rabbit(1K),Golf6 ESTATE,Jetta,Parati,Passat,Phaeton,Polo,Scirocco,Sharan,Suran,T-Roc,Tiguan,Touareg,Touran,Transporter5/Multivan,up,UP!/cross UP!
Fiat:
500,500L,500X prox,Albea,Boxer,Daily,Doblo,Doblo New,Ducato,Egea,Fiorino,Freemont,,Idea,Grande punto
,Jumper,Linea,Marea,Nemo,Ottimo,Palio,Palio RST,Panda,Perla,Promaster,Punto,Sinea,Stilo,Viaggio
More Autel MaxiIM IM608 IMMO vehicle models please check here:
https://pro.auteltech.com/measurecarApp-1-1.html?m=94&proTypeCode=IM608(IMMO)&operatorType=2
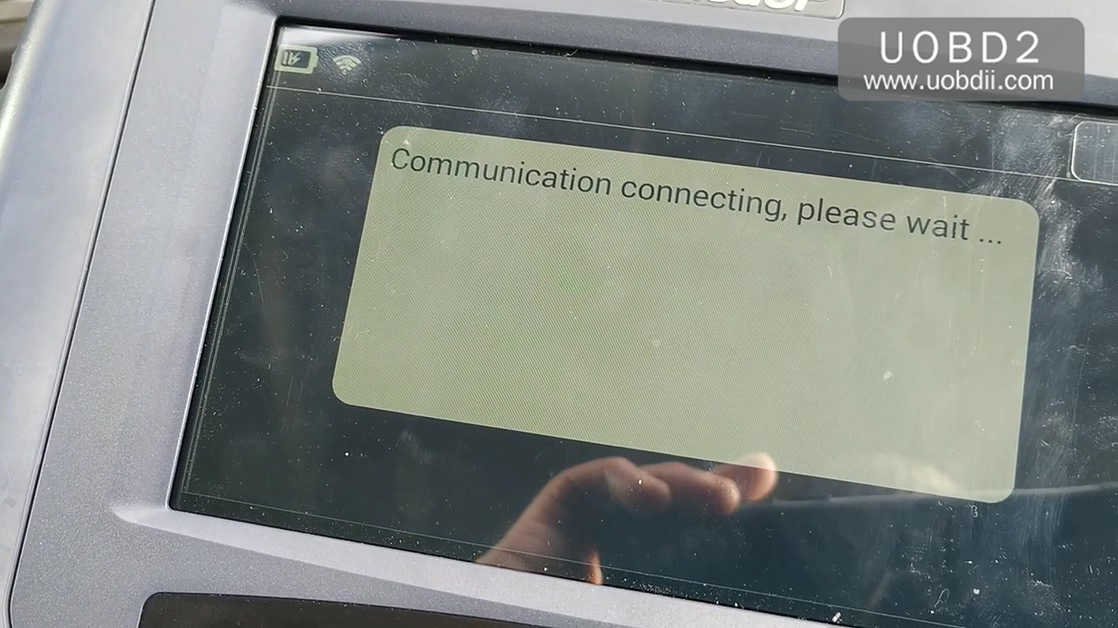
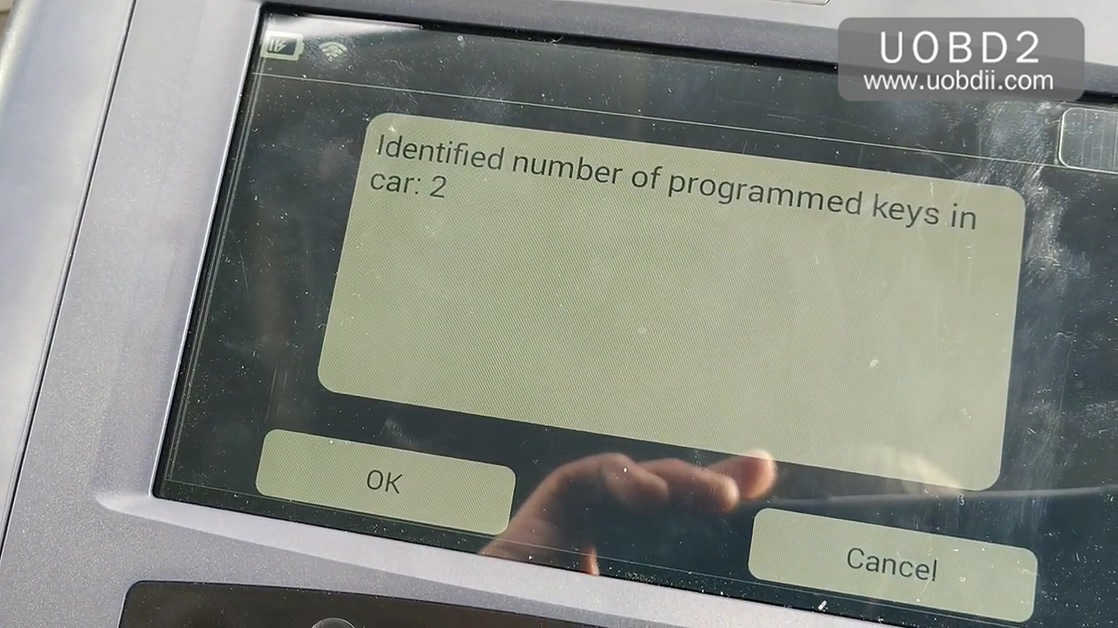
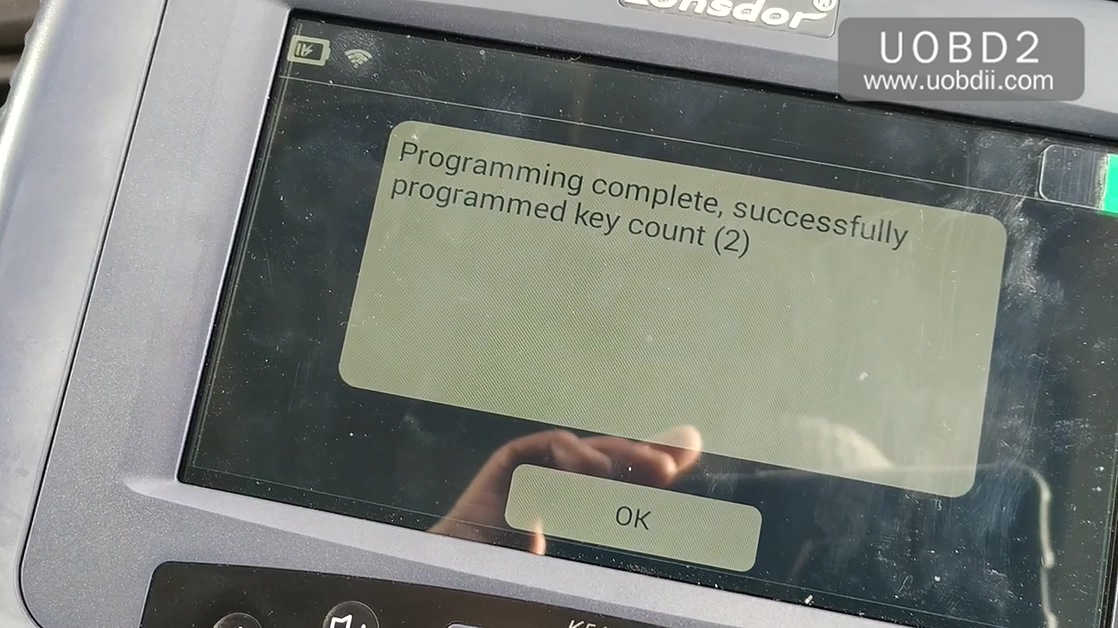
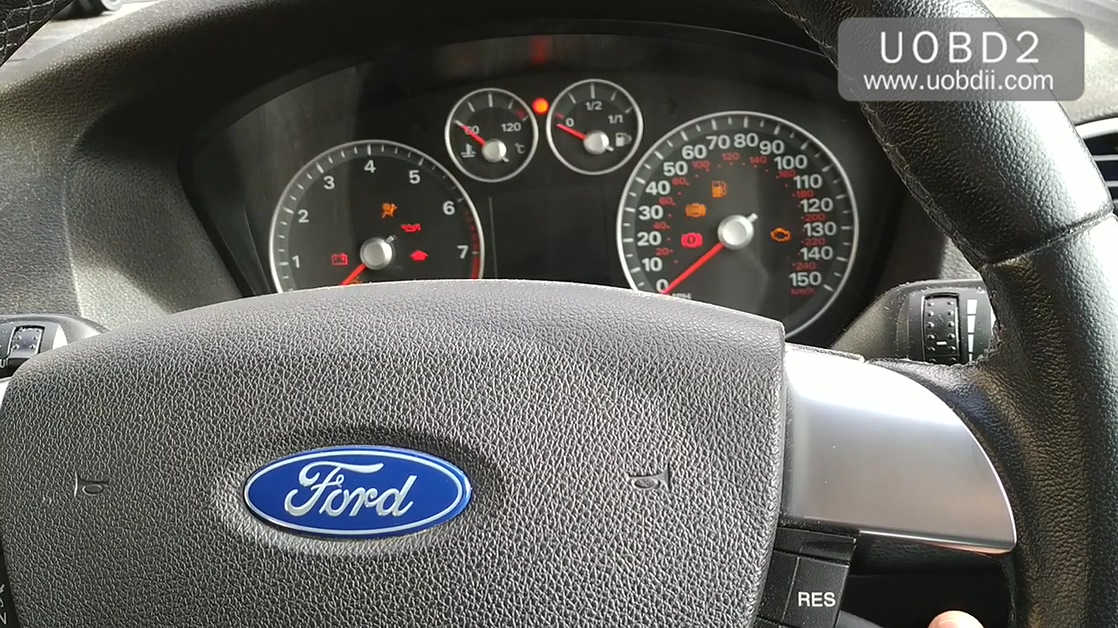
Autel MaxiIM IM608 test report:
Golf MK5 2005 AKL – add key OK – 2min
Scirocco 2011 – add key OK – 2min40sec
Honda Civic 2006 – add key OK – 55sec
Golf V AKL 2007 without remove dashboard
Done Tiguan 2013, Scirocco and few others VAGs. Works fine on them
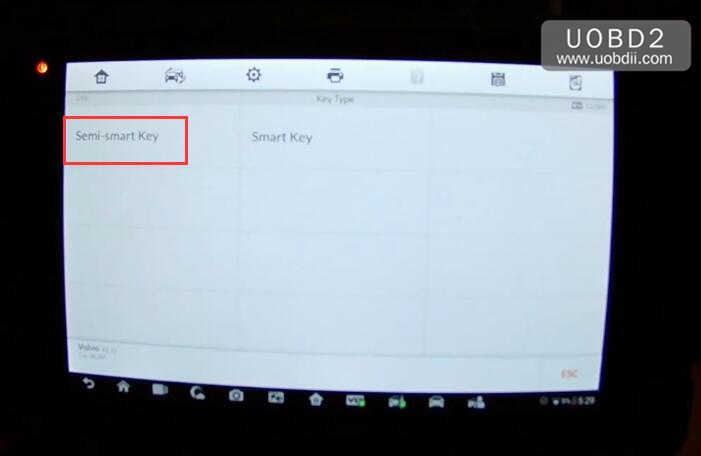
Autel MaxiIM IM608 program key for Volvo XC60 successfully
Benz W212 akl can be done by OBD
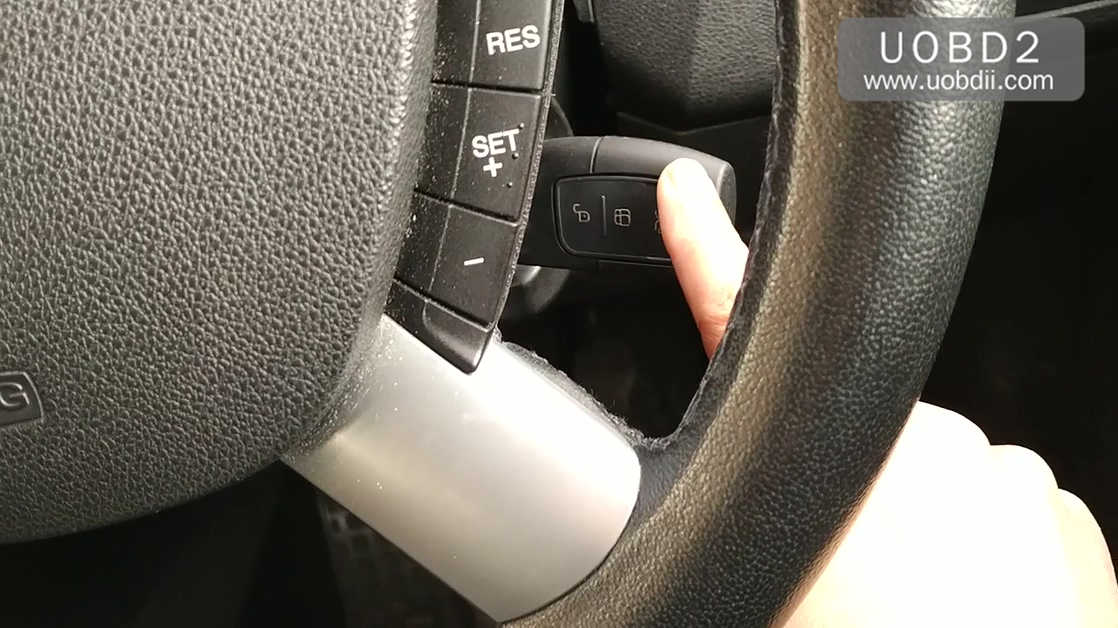
2014 Seat Ibiza, 2 keys added
Mercedes ML320 CDI 2007
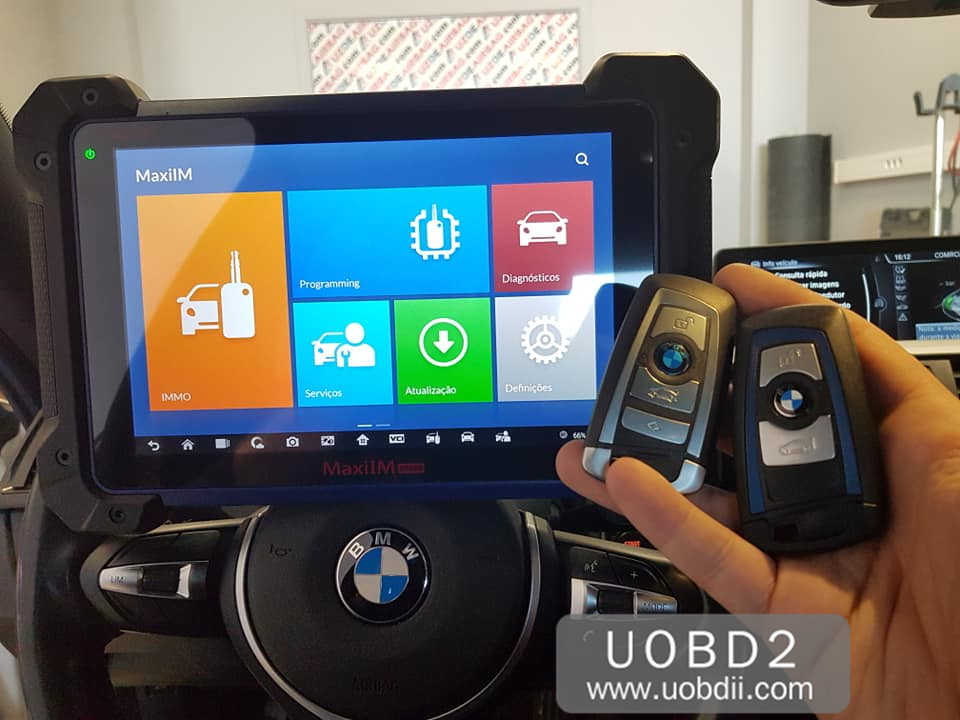
BMW FEM system Add Key complete
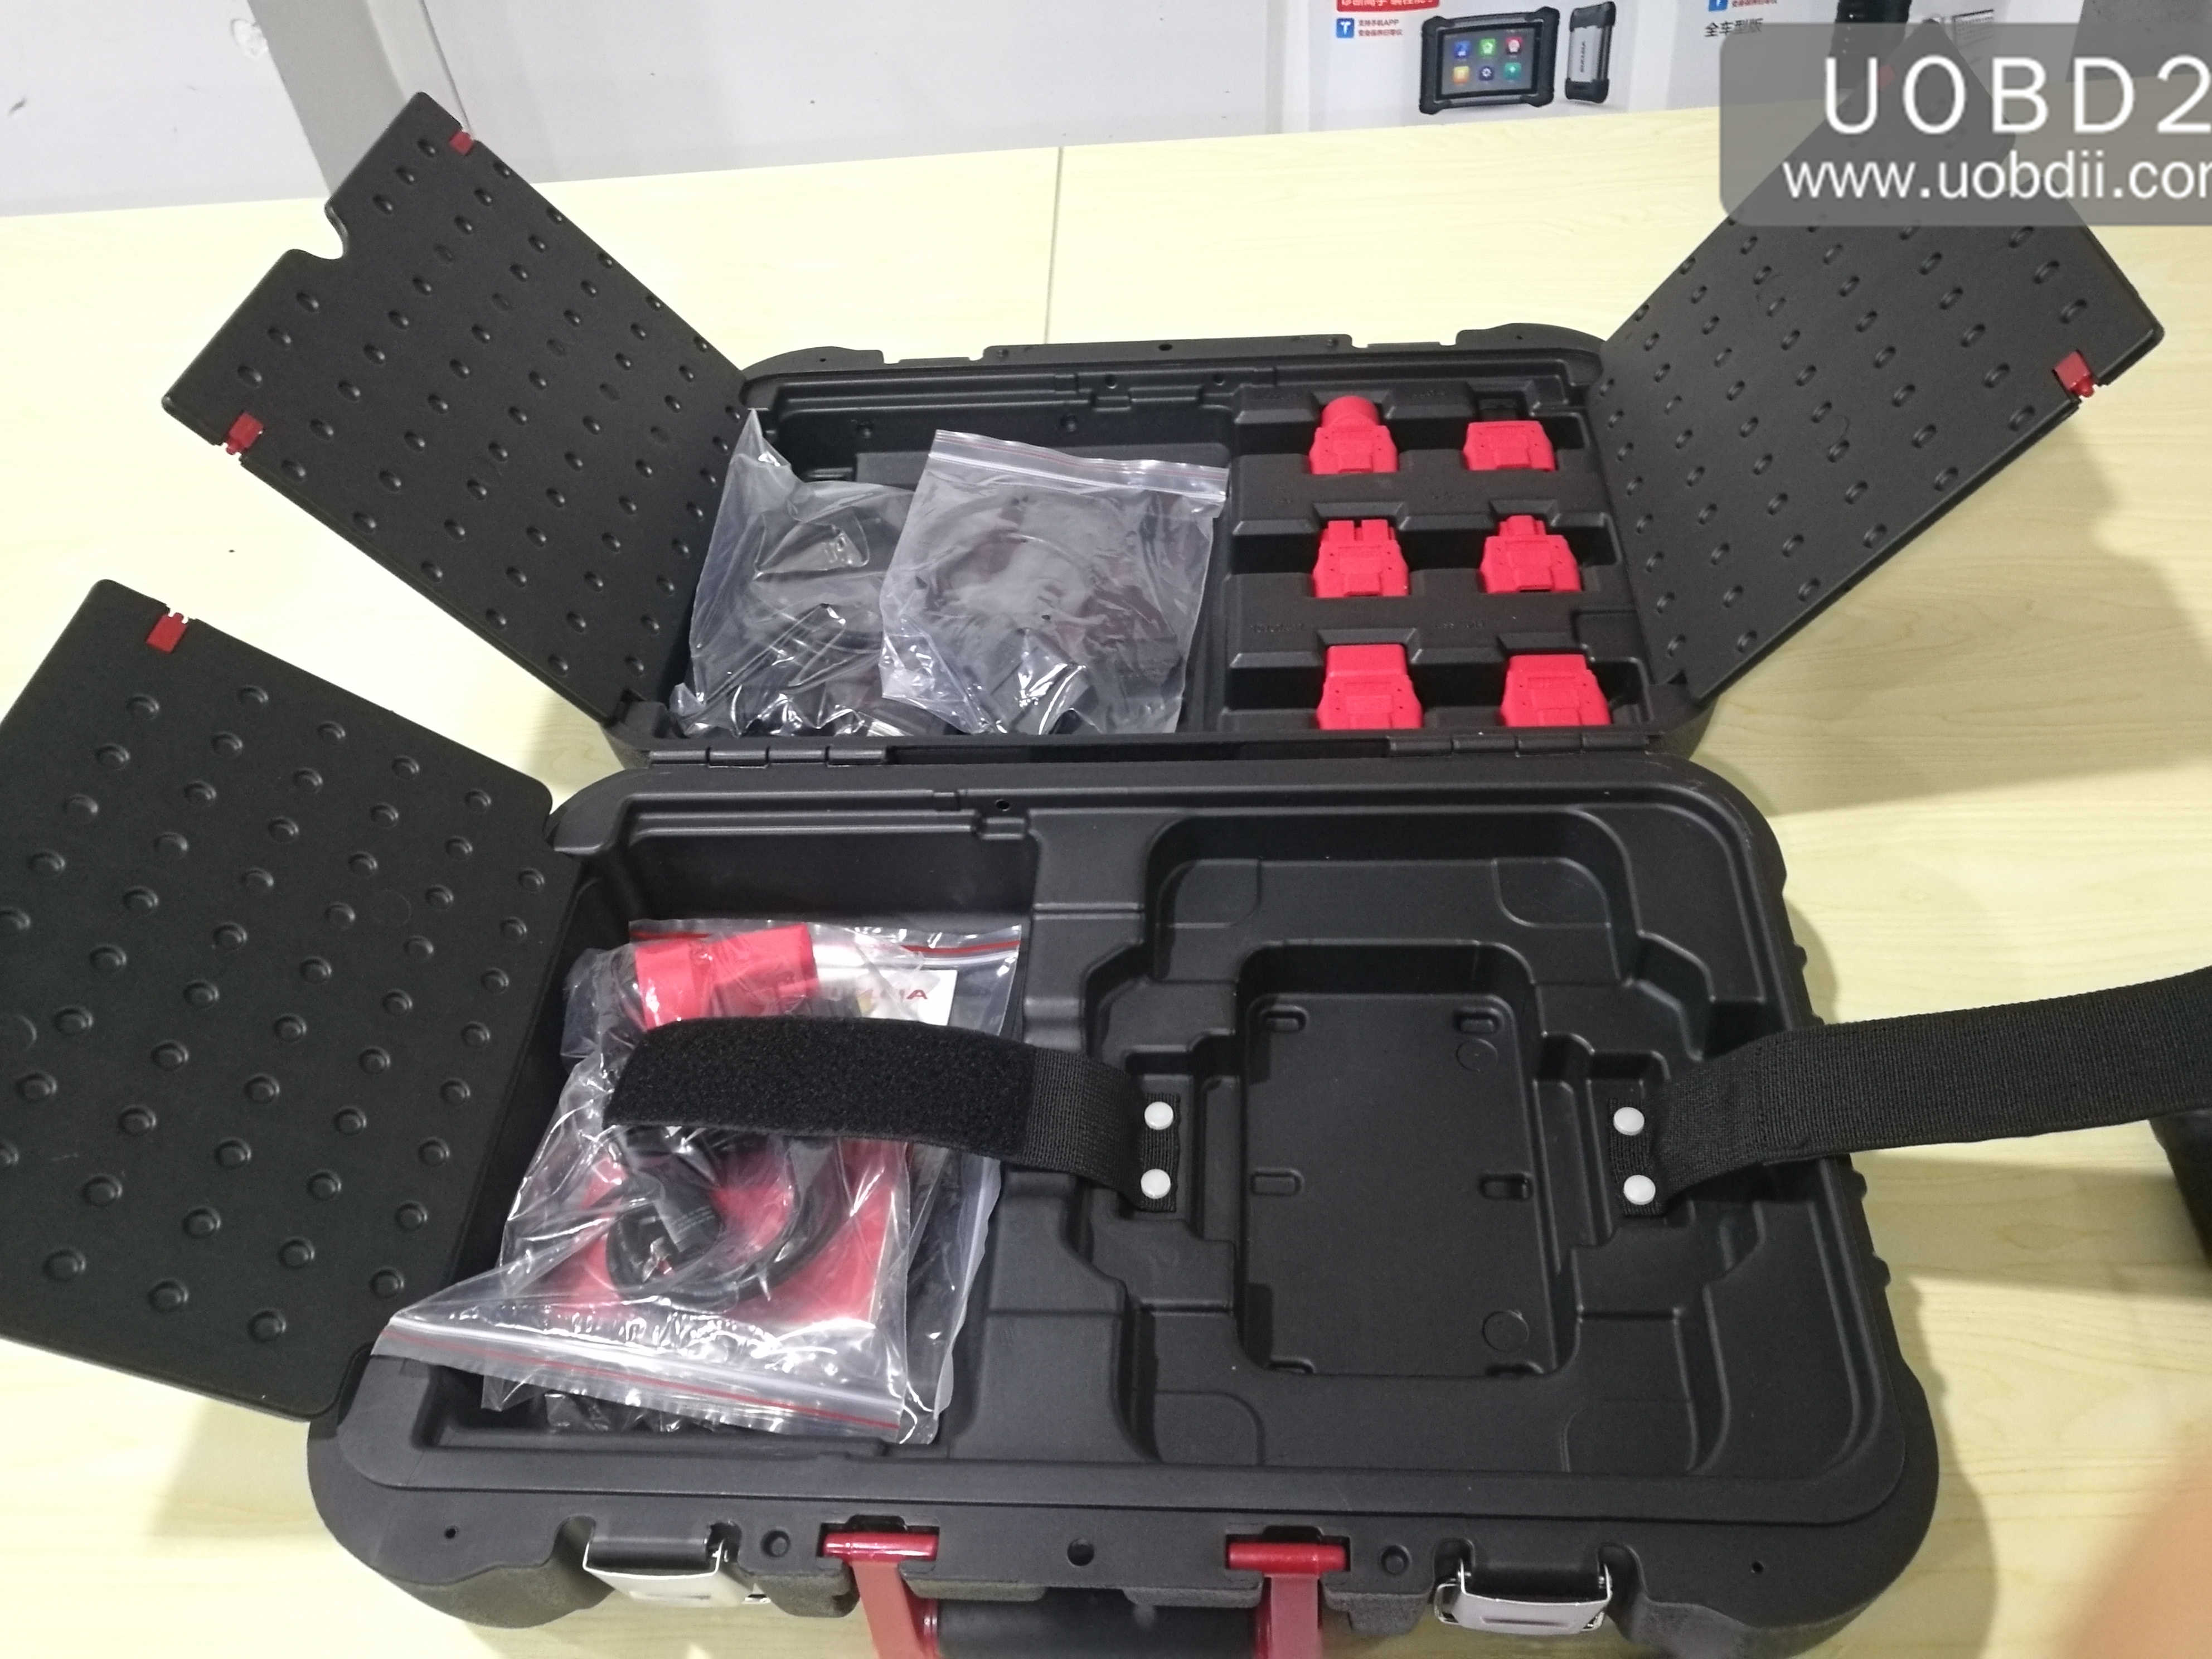
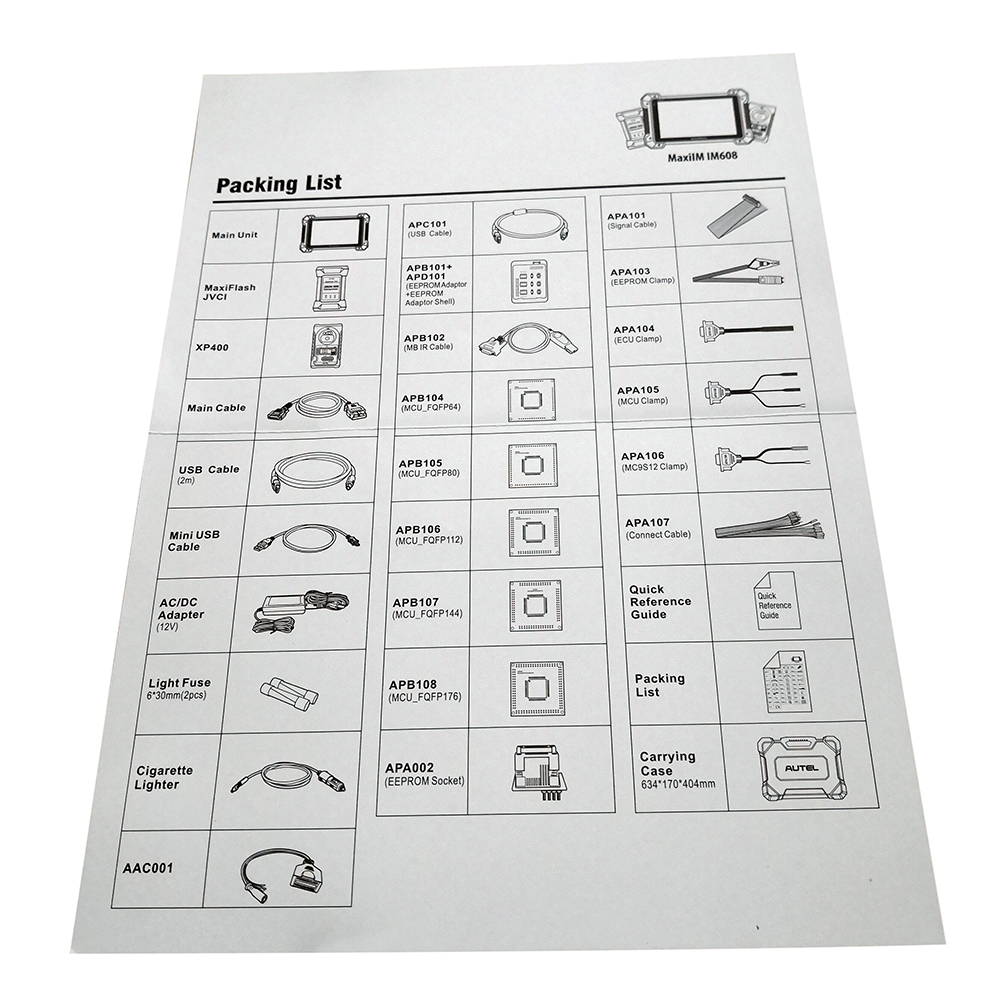
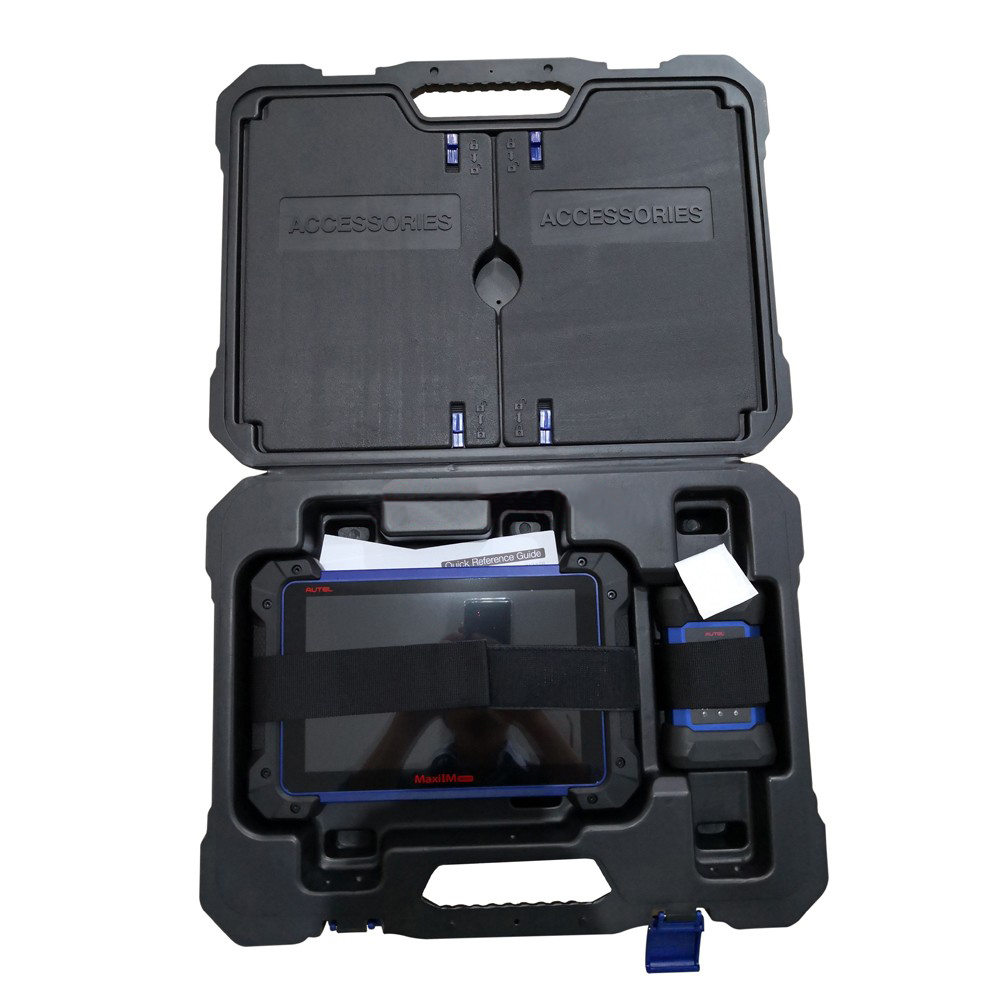
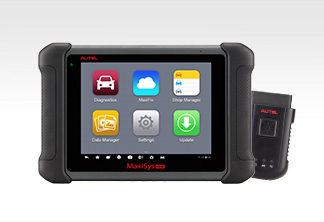
Autel IM608 full package:
![autel-maxiim-im608-package]()
![autel-maxiim-im608-full-package]()
source: http://www.uobdii.com/wholesale/autel-maxiim-im608.html