There are top 3 Chrysler diagnostic scanners: wiTech MicroPod 2, Foxwell NT530, Vident iLink400. They differ from each other in price, target users, how to use, language, update etc.
1.wiTech MicroPod 2 Chrysler diagnostic & programming tool:
-> Windows-based
-> windows 7 32bit or 64bit
-> Newest witech 2 v17.04.27
witech 2 v17.03.10 (Much stable)
https://mega.nz/#!BNAjnAQB!AWiM7QTImGt5n0XvgqNLF6rZ87gFQ4GqC9rl4dOtYcY
-> Install and activation: https://youtu.be/HD3PRHPMTP4
-> Workable cars: Chrysler, Jeep, Dodge, Fiat
-> Multi-languages: English, French, Spanish, German, Italian, Russian, Japanese, Korean and Chinese
-> Diagnosis: Confirmed
-> Programming online/offline: Confirmed
-> A separate Tech Authority Subscription is required to access to Module Re-Flash Programming, TSBs, wiring diagrams, and repair information.
-> DRB III emulator confirmed working, but it doesn’t contain DRB III emulator in the package, you have to buy your own separately.
-> working exactly like an OEM unit.
-> No errors and tested functions on different vehicles.
-> confirmed working with unmodified software wiTECH v17.03.10 (downloaded directly from Chrysler) and online (logged into TechAuthority).
-> used it on a 2014 dodge avenger just fine.
-> was able to flash a module update and program a new key with the unit.
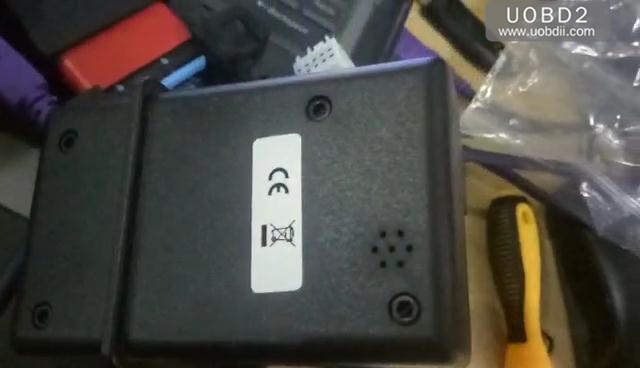
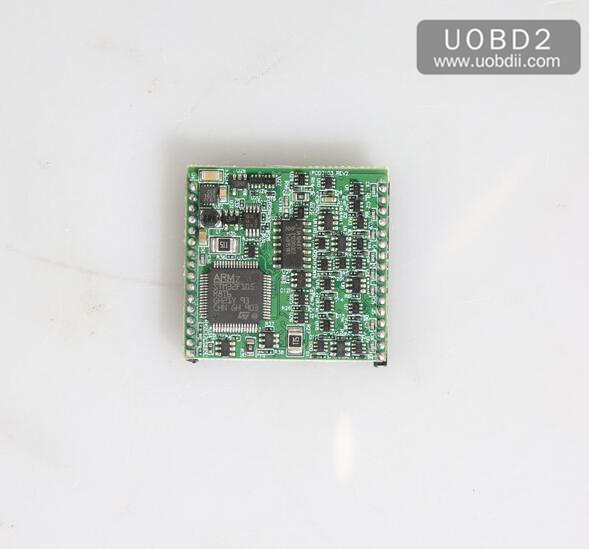
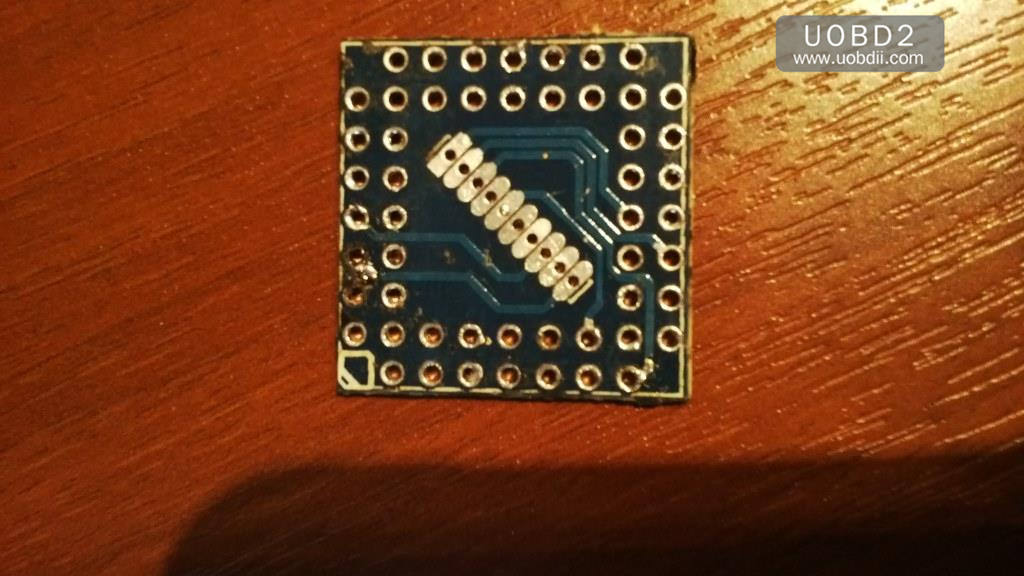
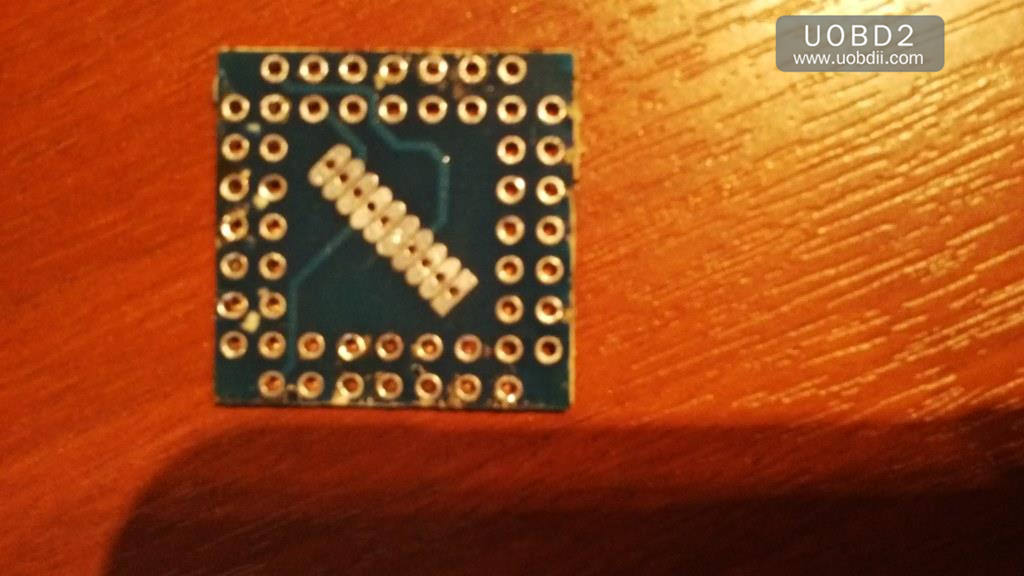
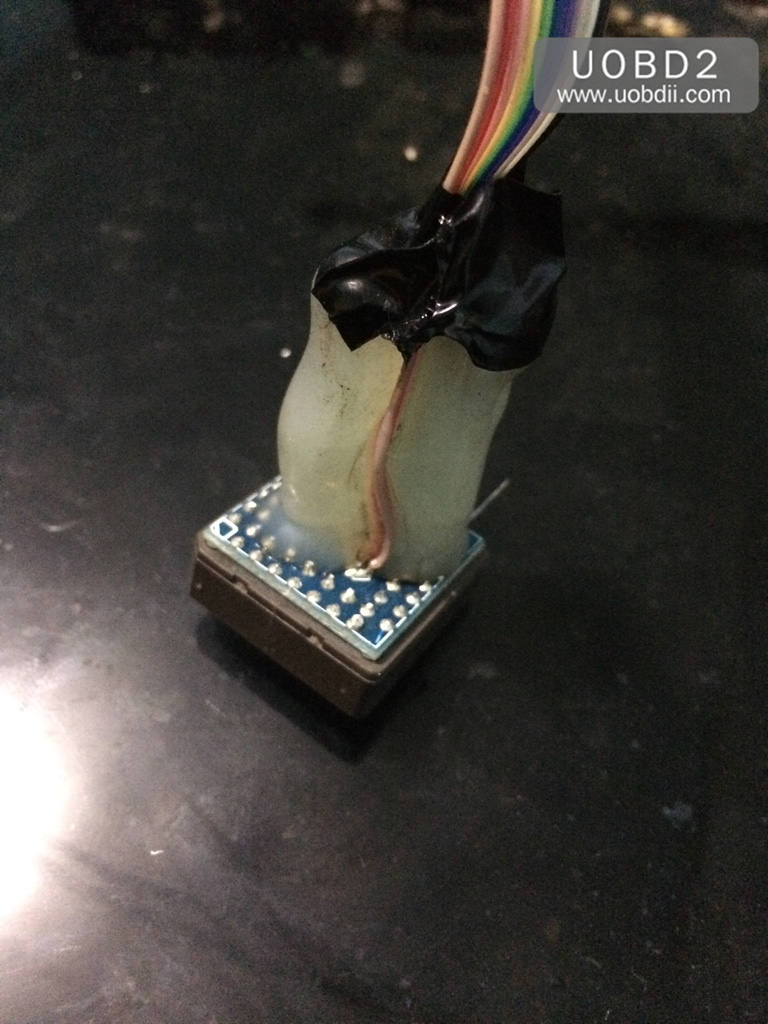
-> uploaded pictures of the internals for those who are curious.
![micropod-2-witech-pcb-1]()
![micropod-2-witech-pcb-2]()
![micropod-2-witech-pcb-3]()
![micropod-2-witech-pcb-4]()
-> wiTech MicroPod 2 V17.04.27 Update: When the newer software version is released, you will be given a link to download. It is disallowed to update online.
-> wiTech MicroPod 2 V17.04.27 car list: Offers 100% CAN – equipped coverage to 2016 for Chrysler, Dodge, Jeep, and Fiat vehicle platforms.
![]()
2.Foxwell NT530 Chrysler OBDII scanner:
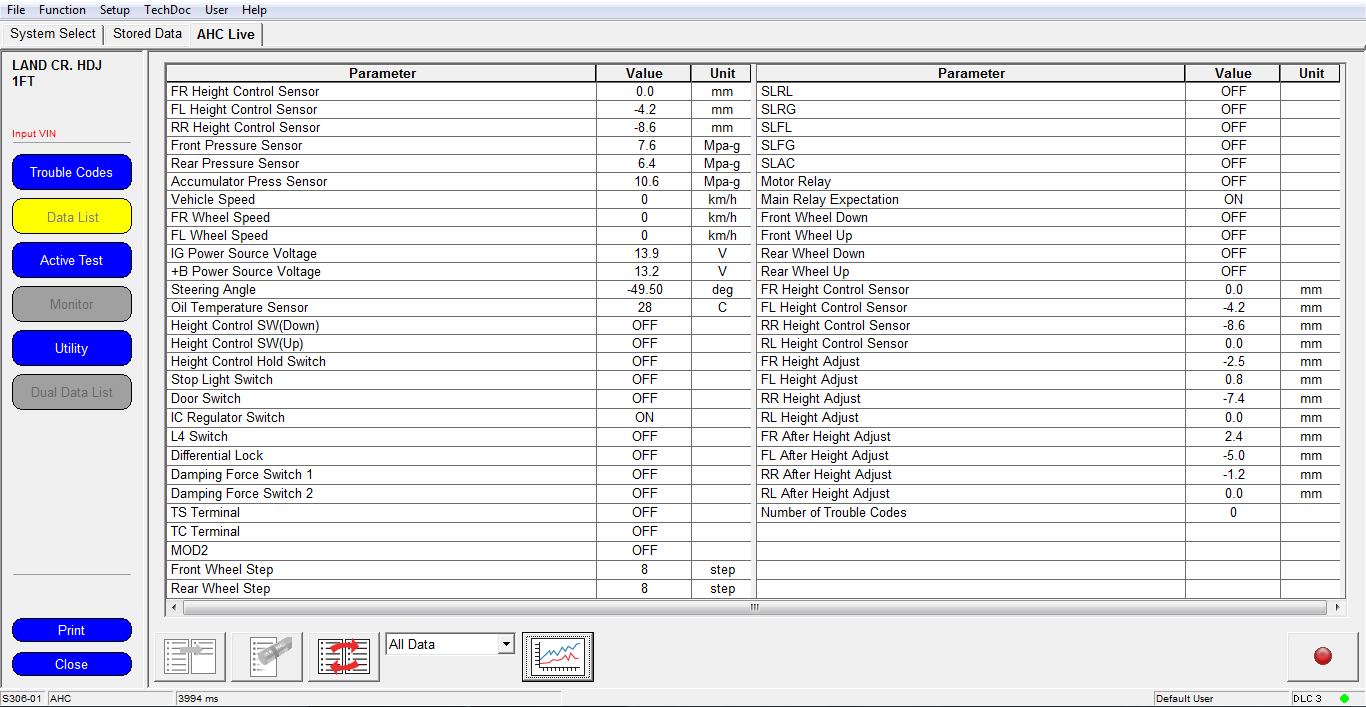
![chrysler-clear-trouble-codes-using-foxwell-nt530-01]()
Hand-held, plug and play
Suitable for DIYer
2004 year -2017 year & up to 2003 year
All-system scan
Functions:
Read codes
Erase codes
Active test
ECU configure information
ECU information
Event data
Freeze frame
Live data
System check
Special functions
Read pdf file: Foxwell NT530 Function List for Chrysler Jeep Dodge Ram
![foxwell-nt52-chrysler-scanner-07]()
Update: free lifetime on www.foxwelltech.us, via USB.
Language: English, Chinese (Simplified), Chinese (Traditional),French, Deutsch, Spanish, Japanese, Russian,Polish, Dutch, Portugues, Korean, Swedish, Italian, Russian, Thai, Hungaria,
Add more car diagnostic software (22 makes in total) by paying extra 60usd per one.
->> When you receive Foxwell NT530, it doesn’t contain Chrysler diagnostic software, please browse www.foxwelltech.us, register a member, login and download “FoxAssistSetup_V1.03.004.zip”.
Video guide: https://youtu.be/l6u6fgaGd3g
Foxwell NT530 Chrysler scanner Review:
Review 1. Works just fine on my Jeep. It is actually a heck of a lot cheaper than some tools I was quoted for, some tools were over £1500. Crazy. This will do me nicely. Thanks.
Review 2. I had the ABS warning lights showing on the dashboard of my Chrysler. This tool was able to diagnose the fault, and when I fixed it the light had all turned off. Very nifty kit and well made. This will save me in the long run from taking to the garage every time.
Review 3. Absolutely sick of being taken to the cleaners by the local garages, I bought Foxwell nt530 in the hope it would save me some money as my local garage charges £75 just to hook it up (daylight roberry) anyway this tool arrived and have used it a couple of times already, and no mr rip off garage for me. Thankfully.
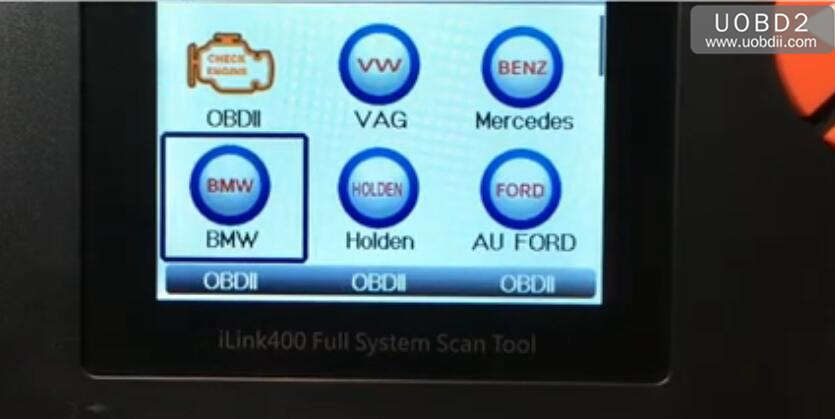
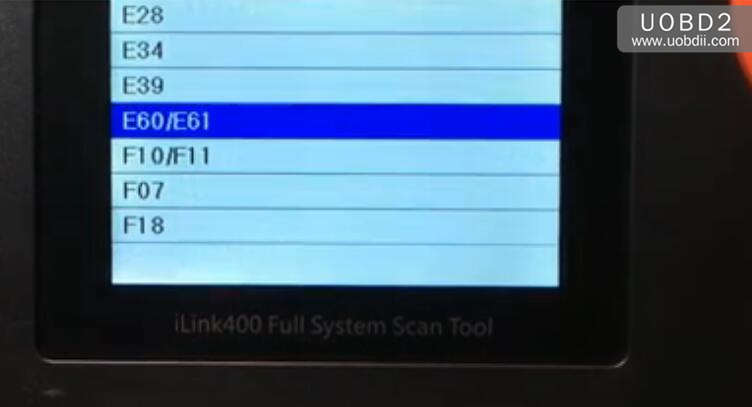
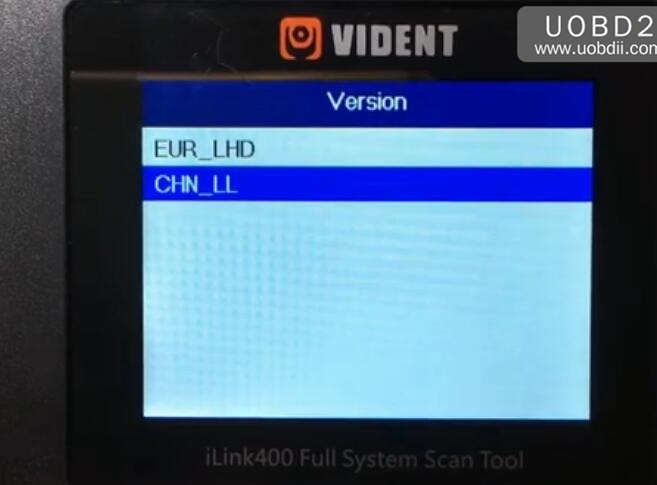
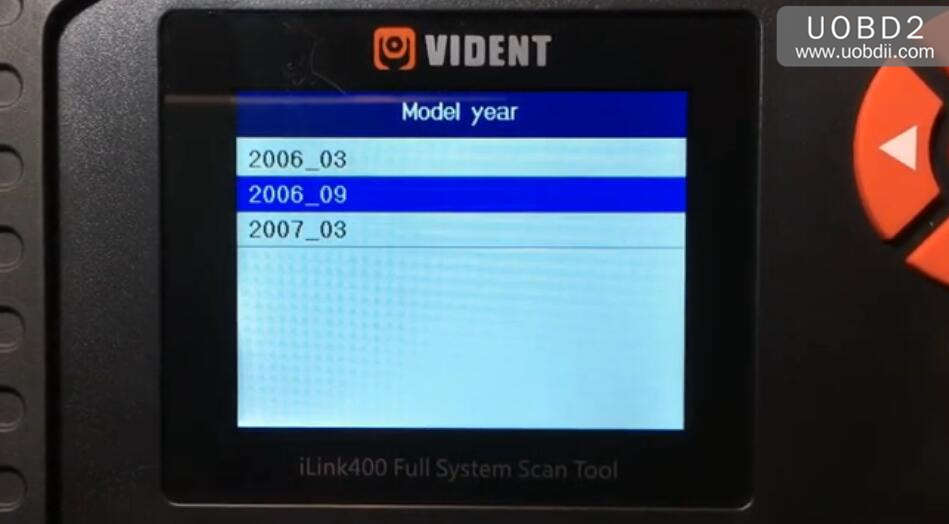
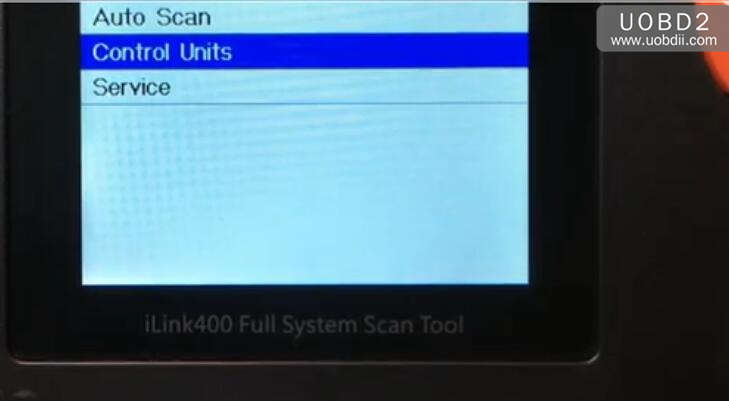
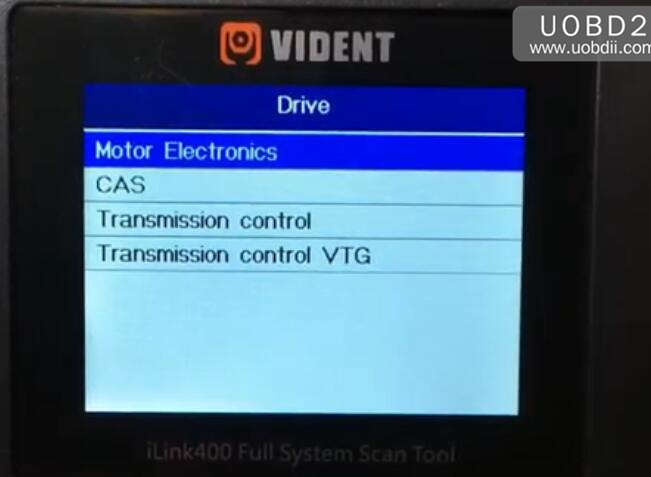
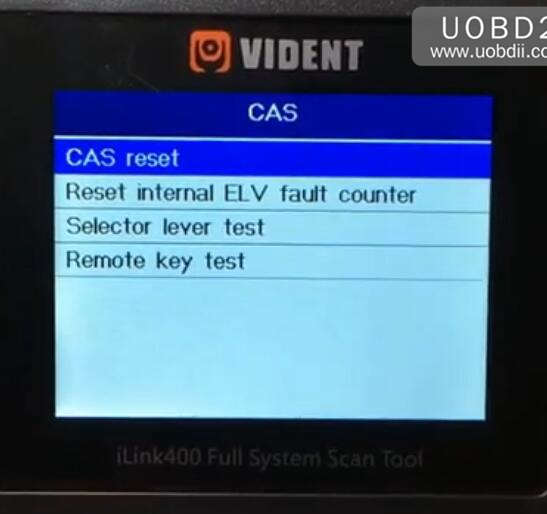
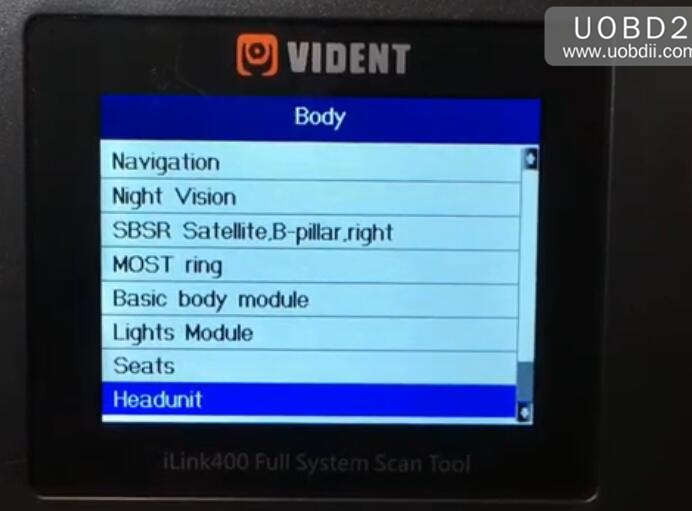
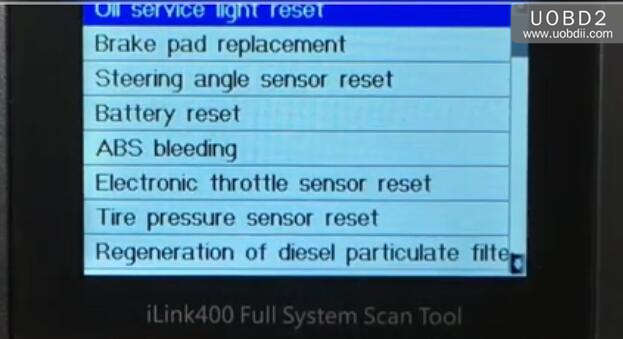
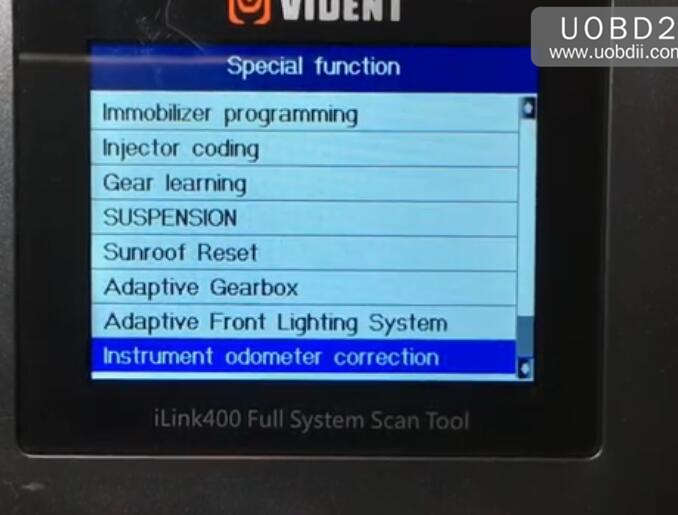
3.Vident iLink400 diagnostic & service tool for Chrysler Jeep Dodge Ram
Look at Vident iLink400 scanner:
![vident-ilink400-chrysler-full-system-scan-tool-08]()
-> Handheld, plug and play
-> Suitable for DIYer
-> Most cheap 139usd
-> Car models: Chrysler Jeep Dodge Ram
-> up to 2018 year
-> OBDII /EOBD +CAN: yes
-> all-system scan
-> Read code, clear code, Freeze Frame data (ffd), system information, live data, active test, adaptation, coding
-> 18 service reset functions, ABS all functions and SRS all functions. No odometer.
Read Vident iLink400 Chrysler function list:
http://www.uobdii.com/upload/pro/19102615720741961431.xls
Language:
English, Spanish, German, French, Portuguese, Dutch, Swedish, Italian, Simplified Chinese, Traditional Chinese, Russian, Japanese, Korean, Polish, Hungarian and Thai.
Update:
Update on www.videntech.com free for 3 years.
-> Allow user to add up to 5 car brands diagnostic software.
One for extra 60usd.
Here you can go for how-to guide:
http://www.uobdii.com/upload/pro/18081515343872522622.pdf
(Incl. member registration, login, download & install, buy extra software etc.)
Vident iLink400 Chrysler review:
I have been able to fix my ABS issue with this device, and do some additional testing of other components that would normally only be done by a dealer, or someone with a starscan. I logged into the web site and was able to download the latest patches for the unit and the diagnostics. It came pre-loaded with the Chrysler software, so it was plug and play, but I do recommend patching to the latest code though. You cannot do programming with this on the ram 3500, as far as I can tell.
Conclusion:
For budget:
Vident iLink400 price < Witech Micropod 2 < Foxwell NT530
For functions:
Foxwell NT530 and Vident iLink400: all-system scan + service reset
Witech Micropod 2: professional diagnostic, online/offline programming
For operation:
Foxwell NT530 and Vident iLink400: easy to use, plug and play.
Witech Micropod 2: install on windows 7, need activation
www.uobdii.com