Karfans C800+ commercial vehicle diagnostic tool is the peak of diesel diagnosis developed by Karfans Company for 3 years. It support the diagnosis of Euro 4, Euro 5, Euro 6. With Samsung super processor, 10.1-inch LED capacitive touch screen, military operating system. Boot in 10 seconds, the diagnostic and programming speed is fast and it won’t be slower!
Combined with the patented design of the upper and lower machine, built-in large-capacity lithium battery and never need to be charged. No longer have to worry about going out to rescue and the decoder has no electricity!
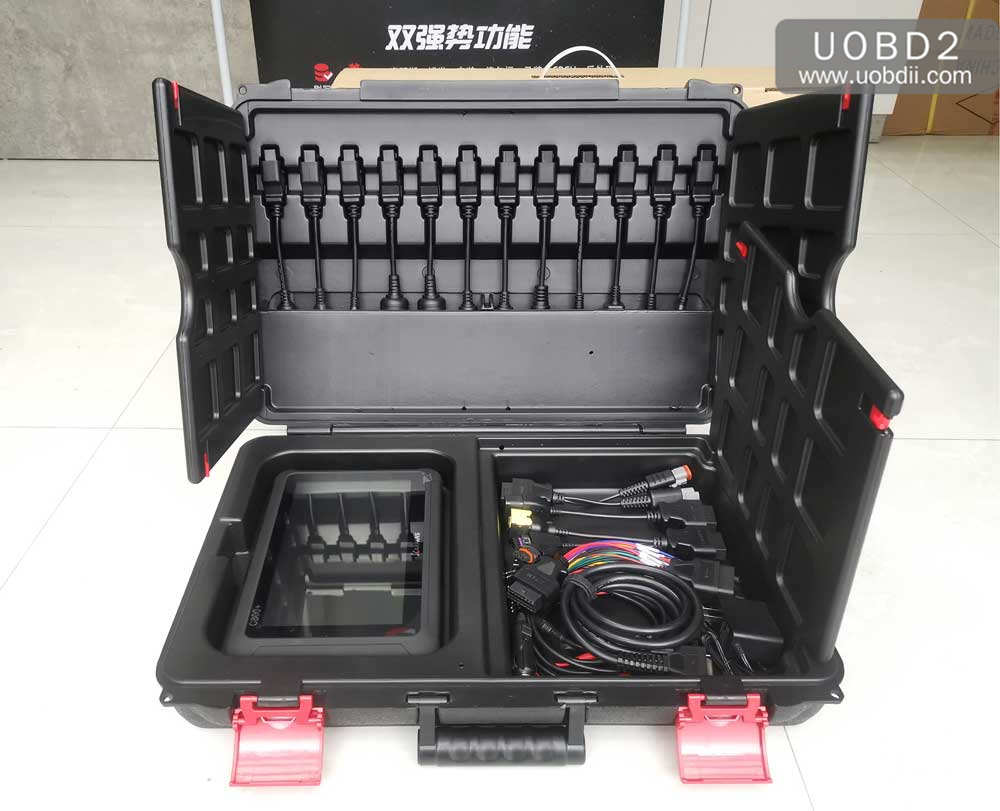
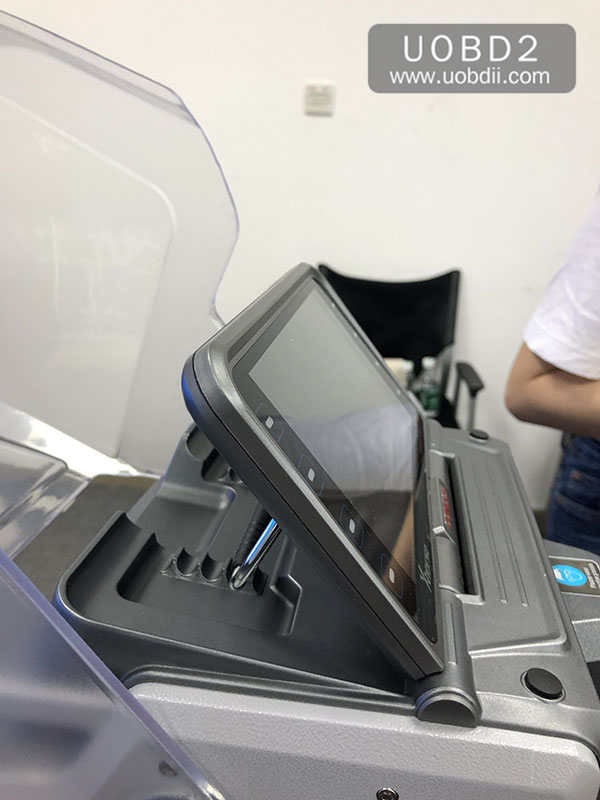
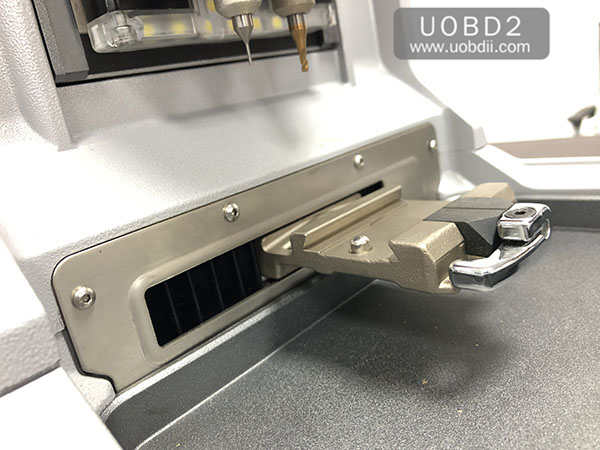
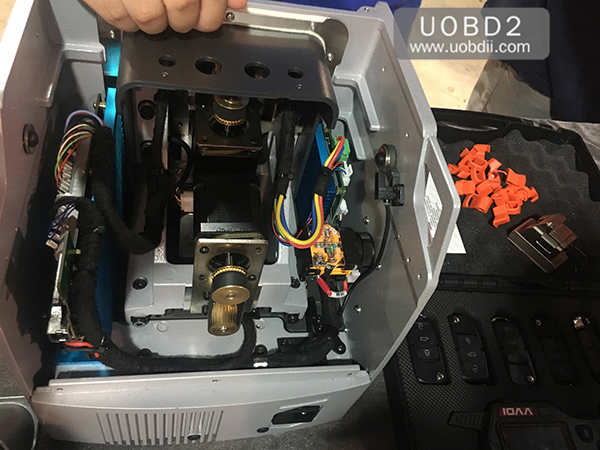
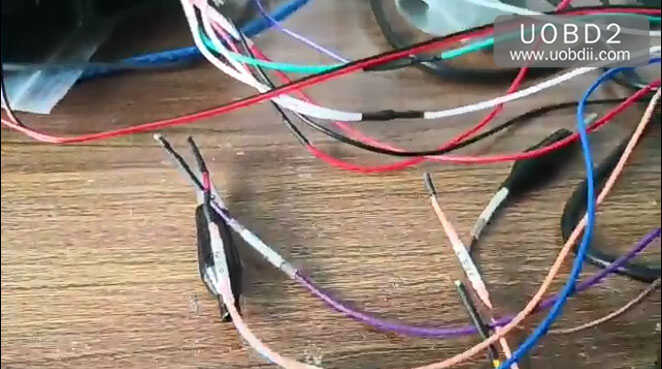
Karfans C800+ full package real images:
![karfans-c800-plus-user-manual-01]()
![karfans-c800-plus-user-manual-02]()
![karfans-c800-plus-user-manual-03]()
![karfans-c800-plus-user-manual-04]()
![karfans-c800-plus-user-manual-05]()
![karfans-c800-plus-user-manual-06]()
![karfans-c800-plus-user-manual-07]()
Karfans C800+ is better than Carfans C800:
1.Built-in large-capacity lithium battery and never need to be charged.
2.Boot in 10 seconds, which is fastest in this industry.
3.Accurate and fast. After pressing one button, you will be automatically taken to the system.
Karfans C800+ supports the diagnosis of Euro 4, Euro 5, Euro 6:
1. Can diagnose all Euro 3, Euro 4, Euro 5, Euro 6:
Cummins, Weichai, Yuchai, Shangchai, Xichai, Yunnei, Futian, Liberation, Jiangling, Qingling, Iveco… (Read codes, erase codes, read Data Stream, Activation Test, Advanced capacities)
2. Natural gas:
Support Weichai Woodward, Weichai Bosch Natural Gas, Yuchai Natural Gas, Xichai Natural Gas, Shangchai Natural Gas, Heavy Gas Natural Gas, Nanchong Natural Gas, Cummins Natural Gas Diagnostics…
3. Construction machinery:
Support Caterpillar, Komatsu, Volvo, Hitachi, Kobelco, Hyundai, JCB, Sany, Case, Zoomlion, Yituo, John Deere and other engineering machinery system diagnosis……
4.Agricultural machinery:
Support the diagnosis of agricultural machinery systems such as Lovol, Yituo, Hongtai, Weicuo, Shifeng, Benye, Taishan, etc…
5, post-processing diagnosis \ urea pump drive \ injection test:
Support Bosch, Yimitek, Cummins, Chiron, Dinisi, Tenneco, Henghe, Heavy Duty Independent Sanli, Tim Blue, Ai Kelan, Ike Carter, Weifu Lida Pump, Kaides, Yili Lanjie, etc.
6, a comprehensive diagnosis of all kinds of single pump and light truck:
Support Liaoning Xinfeng, Easy Control, Longkou Long Pump, Nanyue, Hengyang, Witt, Dachai Deutz, Yuchai and other single pump, Jiangling, Qingling, Jianghuai, Zhengzhou Nissan, Dolly, Iveco and other light trucks diagnosis
7, ABS anti-lock system:
Weberco, Comet, Bosch, Wanan, Dongfeng Commercial, Dongfeng Technology, Hongding, Heavy Duty Truck, Asia Pacific, FAW Gathering, Yuanfeng, Delphi, Jingxi Heavy Industry, Knorr and other diagnostics
8, Immobilizer matching, automatic transmission, suspension calibration, remote control matching, tire pressure and other advanced features:
Support Mercedes-Benz, Volvo, Scania, German Man, Hino, Mitsubishi Fuso, etc.
Karfans C800+ leading brushing and writing:
1. Support all Cummins ECU template backup + import, data backup + brush writing (built in all the data of Euro 3, Euro 4, Euro 5, Euro 6);
2, The most comprehensive post-processing DCU brush writing: Cummins ACM1880, Dinisi Tongda, Weichai Autonomous DCU, Cades, Yuchai Sanli, heavy truck independent generation second generation three generations, Tenneco, Hino Kailong mixed brush, constant River, Yili Lanjie, Aikelan, Tianlan, Ikekat;
3, natural gas ECU brush writing: Woodward OH6 Woodward OH2.0 Bosch EGC4
4, support all Euro 3 Bosch EDC7UC31 cross-brand underlying brush, read and write;
5, support all Euro 4 Bosch EDC17CV44/54 cross-brand detachment at the bottom of the mutual brush, read and write;
6, support Xichai electric equipment, Shangchai electric equipment, Hino Electric State, four electric ECU brush writing;
7, Continental independent brush writing: exclusive support Weichai independent WISE15 read / brush and write, support Dachai Road in turn FEUP07A brush to write the original EOL;
8, support EDC16UC39 brush and write / EDC16UC40 read brush write;
9, support EDC17C55/C53/C63/C81 cross-brand mixed brush;
10, the instrument brush and write: heavy truck TFT instrument brush and write, Foton Auman instrument brush and write, Nano BCU, etc.;
11, CBCU brush and writing: China National Heavy Duty Truck, Futian Auman, Shaanxi Automobile Mixing Brush, Dongfeng VECU, joint heavy truck;
12, single pump brush and writing: support liberation unit pump 98D, all kinds of Nanyue single pump, Witt single pump ECU25/ECU30, Liaoning Xinfeng, etc.
Karfans C800+ leading advanced features:
1, DPF regeneration, injector IQA code brush and writing, automatic gearbox, suspension calibration, remote control matching, tire pressure, immobilizer matching and other advanced features,
2, Various commercial models’ CAN bus node analysis, instrument driver
3, the detection and calibration function of various nitrogen and oxygen sensors (testing the nitrogen oxide sensor is good or bad)
4. Engine calibration functions of Weichai, Xichai, Yuchai, Chaochai, Dachai, Dongfeng, Yunnei, Zhongqi, Hualing, Futian, Jianghuai, Quanchai, Shangchai and Yangchai (Euro III, Euro IV Bosch EOL) :
(Idle speed fine adjustment, clutch switch, main and auxiliary brake switch, maximum speed adjustment, warm-up control, exhaust brake, fuel water alarm, starter control, air conditioning control, cruise control, under-start and stop, oil pressure sensor, There are water sensor, fuel water alarm, engine alarm light, PTO speed, K value, intake preheating, bridge speed ratio, etc.
5, Bosch Euro 4, after the Euro 5 post-processing history failure (super 5 super 7, etc.) one-key clear function
6, exclusive VECU maximum speed adjustment calibration function, support a variety of Bosch, Cummins ECU and body system calibration (Dongfeng VECU, various CBCU)
7, Euro 4, Euro 5 urea injection temperature setting function, used to adjust the urea consumption (support Weichai, Jiefang, Xichai, heavy truck, Yuchai, Shangchai, etc. DNOX 2.2/6.5)
Karfans C800+ heavy duty coverage:
Commercial vehicles
![karfans-c800-plus-user-manual-08]()
Passenger vehicles
![karfans-c800-plus-user-manual-09]()
Machinery vehicles
![karfans-c800-plus-user-manual-10]()
Engine & ECU vehicles
![karfans-c800-plus-user-manual-11]()
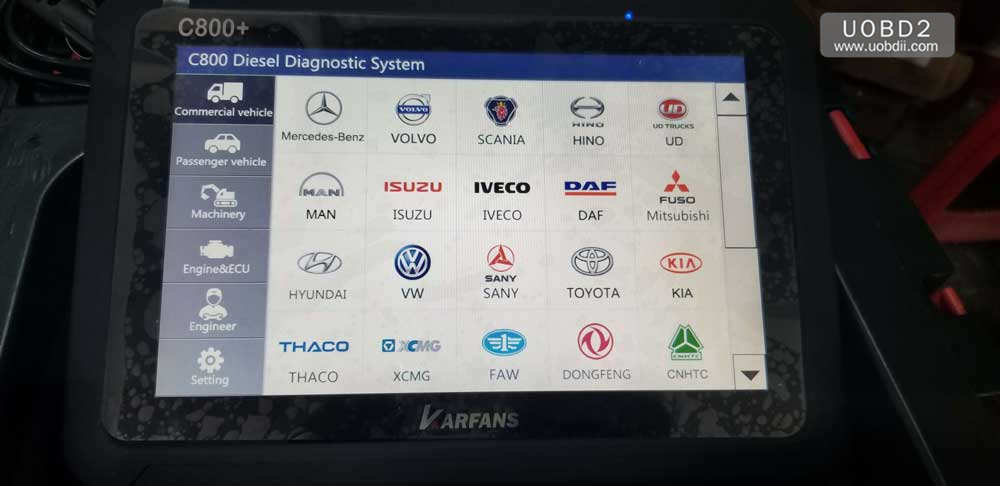
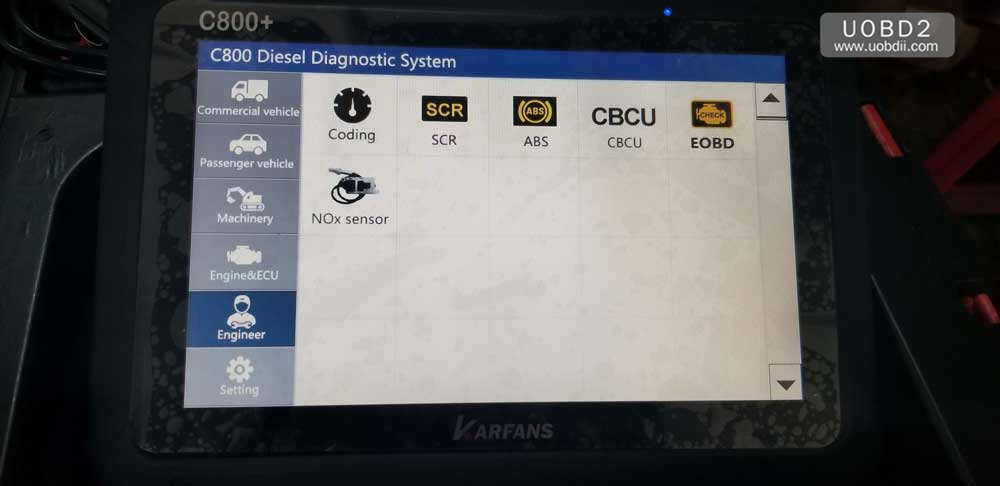
Engineer vehicles
![karfans-c800-plus-user-manual-12]()
Karfans C800+ main info is here.
Please enjoy.
www.uobdii.com